This is an old revision of the document!
Groups & Model Layers
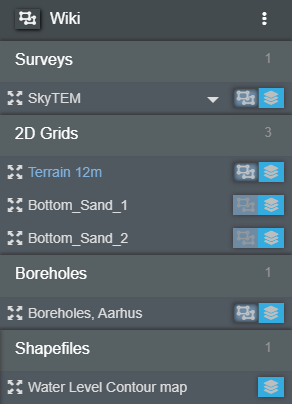
When a group is created, it will be present under the “Groups” tab in the object manager as seen in figure 1. The groups are used to organize data into relevant categories.

Figure 1: Two groups are visible in the “Groups” panel. The two groups are “Demo 1” and “Esbjerg Demo”
Create Groups
To create a group head to the “Groups” tab in the “Data Administration” panel. Navigating to this panel should look somewhat similar to figure 2. A new group can be created by clicking on the green icon (+ Add Group). A group can be deleted by clicking on the red icon (Delete). A group can be edited by clicking on the blue icon (Edit).
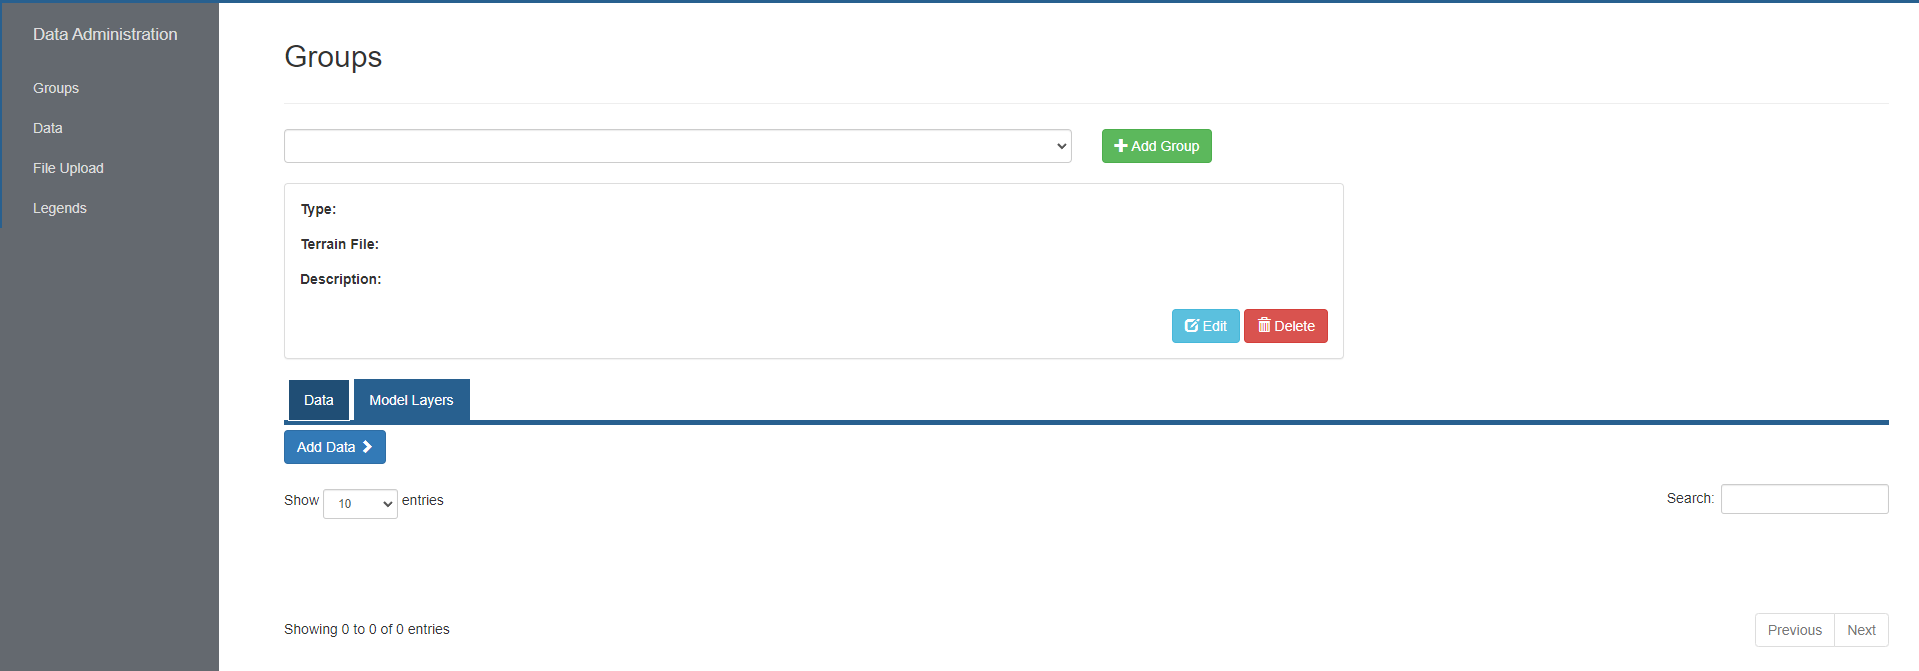 Figure 2: The interface of “Groups” when no groups are present on the portal
When clicking the green (+ Add Group) button, a pop-up window will appear (Figure 3). This window allows the user to name the group, give it a description and a type. When finished, press finish and the group will be created (Figure 4).
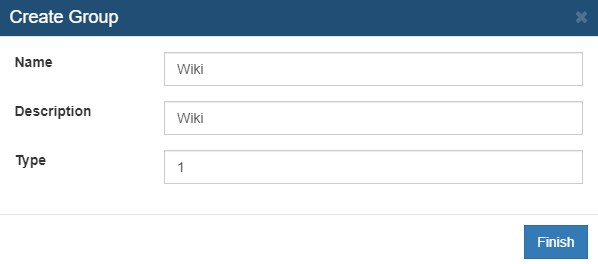
Figure 3: The pop-up window that will allow the user to create a group, give it a name, description and a type.
When the group have been created, it can be seen in the drop down menu, and if selected, both the Type and Description can be seen as well.
When a group is created, data can be added in two ways, either grouping can be set on upload File Upload, or it can be done manually after. If it is done manually, the “Add Data” button will open a menu where a Terrain for the group can be set or the various data types can be added to the group (Figure 4).
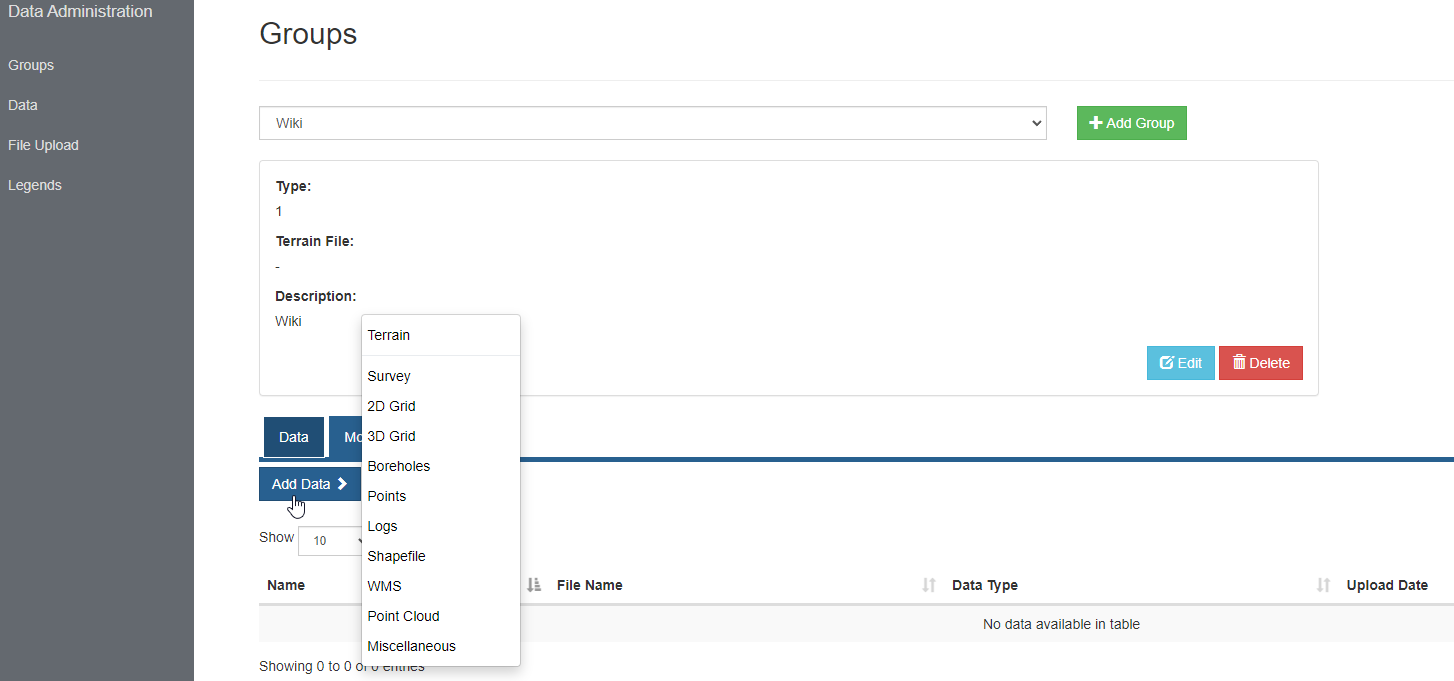
Figure 4: The interface of the “Groups” tab when a group have been added, and data are about to be added to the group
After clicking on the data type which should be appended to the group, a new pop-up window will appear (Figure 5). This window is very similar from datatype to datatype. Specific for Terrain is, that only one surface can be chosen as the Terrain file for the group. For the other data types, multiple objects can be added.
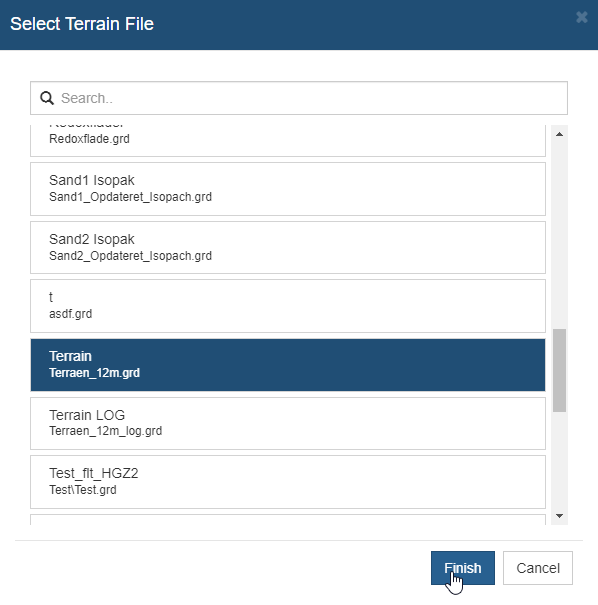
Figure 5: The pop-up window that allows an user to append data to a group.
When data have been added to the group, some of the properties of the dataset is visible in the groups tab (Figure 6). The name, filename, datatype, upload date and published status can be seen. Furthermore, single datatypes can be removed from the group by pressing the red bin on the right hand side (Figure 6).
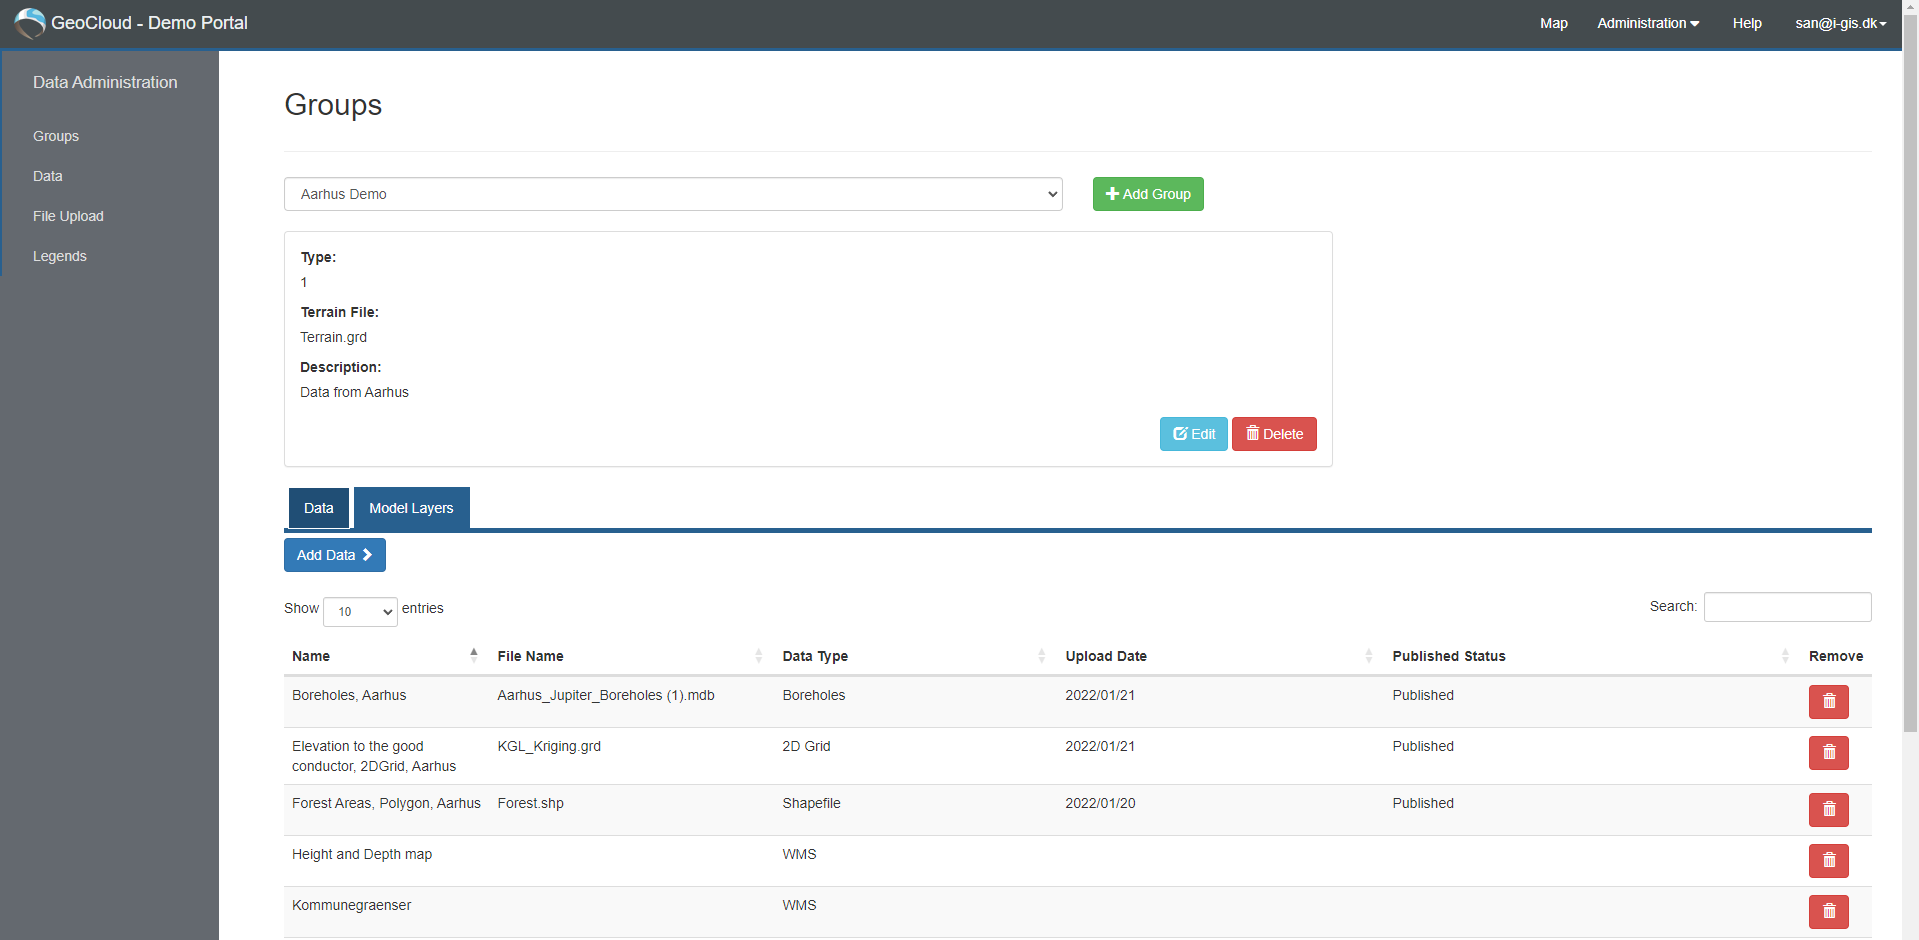
Figure 6: The interface of a group with some data.

