Projects Administration
The Project Administration page is where you create new projects and upload data associated with those:

The page also shows existing projects. Projects and their content can be edited or deleted on an individual base – use mouse-over in the project overview to access these functionalities:

Informative note: Projects created will show up in the Projects Map. Data added to projects will be available for download as described at The Projects Map but will not be visible in the Data Map.
Creating a new project
By pressing “Add Data” ![]() the user is guided through several steps to create a project and to upload associated data.
the user is guided through several steps to create a project and to upload associated data.
Step 1 – Project Details
Step 2 – Geotag your data
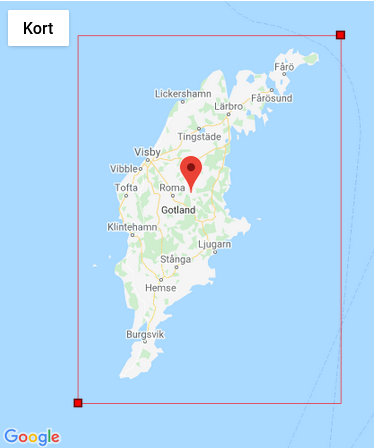
Zoom out in the map and place the red pin on the desired position by drag & drop. Alternatively, enter XY coordinates manually. Position could be inside the project area or at one of the corners of the created bounding box. Note: Pin position can be changed after the step below (create bounding box)(Figure 14).
The extent of the project is defined by the user defined bounding box. To position the bounding box, drag & drop the two red squares (defines corner coordinates for the bounding box), or add corner coordinates manually.
After the above steps, save the project. The bounding box will now show up (example in Figure 15). Red pin can now be re-arranged.
Add the EPSG value of your project.
Step 3 - Access Level
Access levels are administered by the GeoCloud administrator and/or I•GIS and can be set on different levels (Figure 16).
Role based access.
The Role based access gives access to multiple users. There are two access levels:
• Regular User: Read, download
• Administrator: Upload, read, download, invite new users
Regular users and Administrator refer to the access level defined on the Data Administration page.
The access levels for individual users can be set in the User based access section:
User based access
• Read: Read/view
• Download: Read/view and download
The names on the list is based on users invited by the administrator(s).
Step 4 – Files upload
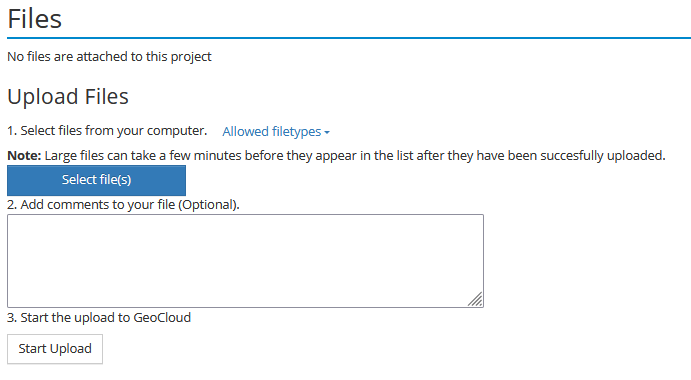
Files on your computer can be associated to the project by select and upload:
File formats handled includes DAT, DBF, DOC, DOCX, GSMOD, ID, MAP, MDB, PDF, PRJ, RAR, SBN, SBX, SHP, SHX, TAB and ZIP. See Table 1 for more information.
After file selection press “Start Upload” and upload begins. Uploaded files show up on the “Uploaded files” list.

Figure 21: Files uploaded. Notice the jpg file (Figure 20) did not upload because of wrong file format (jpg instead of bmp. To upload jpg, you will need to zip the file.
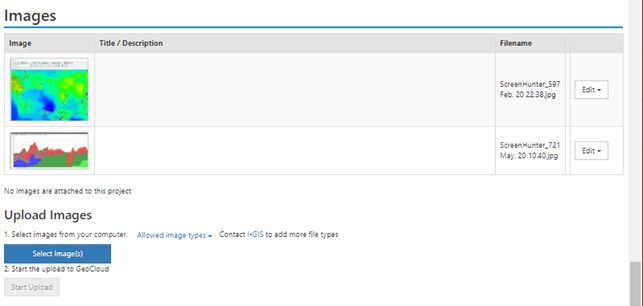
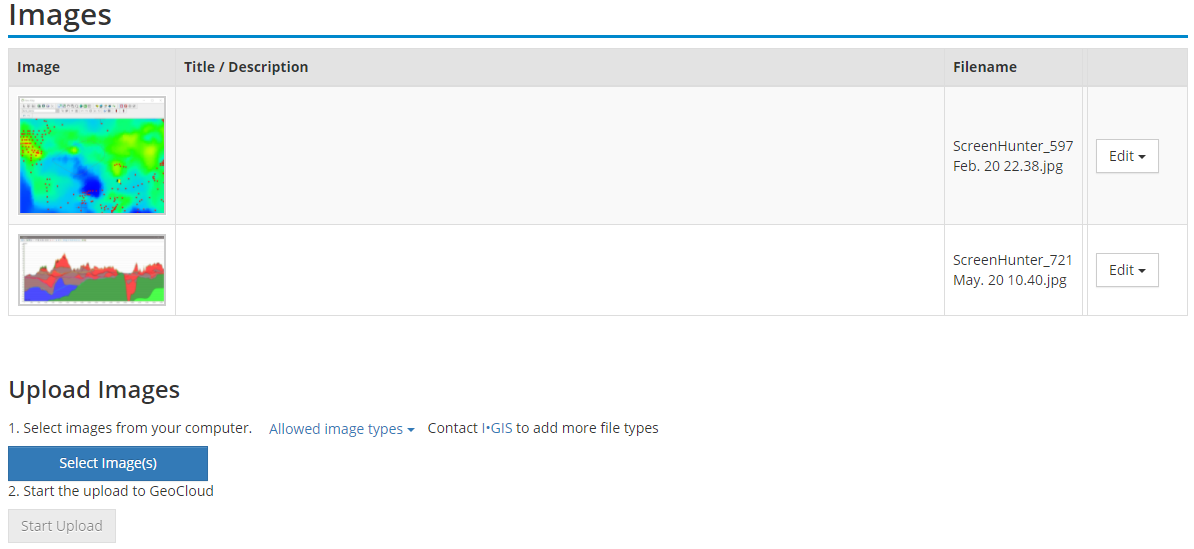
Additional images can be uploaded to be shown on the Projects Map. These images serve as front images on the Projects Map – see Figure 23.

Figure 22: Select and upload images.

Figure 23: Images uploaded and visible on the Projects Map. The 2 images uploaded previously (Figure 22) shows up when clicking on the image in the red box.
After saving the project, it will appear in the Projects Map with a bounding box and a red pin in the map window and listed in the projects list to the right.


