Profile
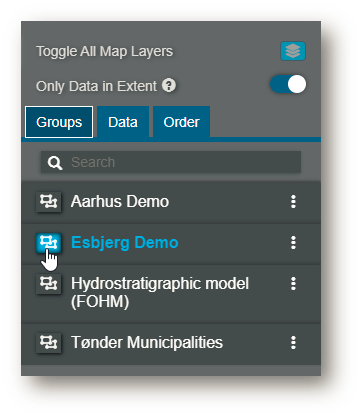
To show data on profiles, it must be added to a group within Data Administration. The group then must be activated in the Data Manager as shown in the image below.
The active group is written in a blue font and the  icon is blue
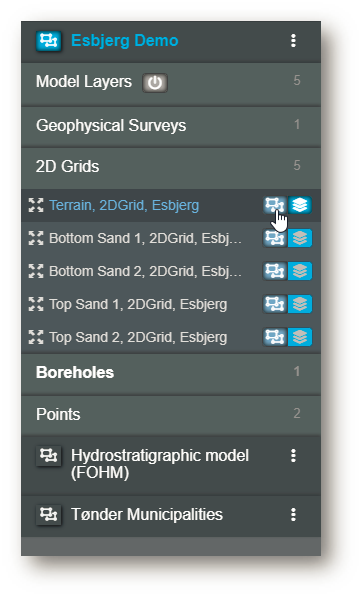
Within the group, for each specific data you want in your profile, you must toggle the  button to show it on the profile. Data can also be toggled on and off after the creation of profiles.
Not all data can be shown on profiles. As an example, Shapefiles, WMS data and Misc data cannot be shown on profile view.
Create profile
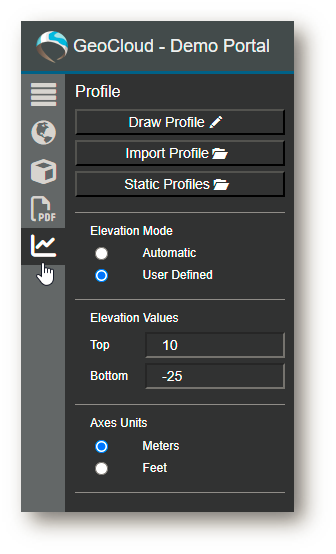
On the left side menu, you have the  button. This will open the profile menu, where you have multiple options.
By default, profiles elevation mode will be 'Automatic'. This means the vertical axis limits of the profile window will be auto fitted to the data. If you want to have a profile with specific top and bottom elevation values, select the elevation mode 'User Defined', and type in your desired top and bottom values.
By default, the unit of the profile's axes will be in 'Meters', with 'Feet' as another option.
The 'Import profile' file must be a .kml or .kmz file format. Click at 'Import Profile' and select the .kml or .kmz file you want to import.
'Static Profiles' is used to add permanent profiles to your map. In Data Administration, you're able to add static profiles to the project. You're still be able to choose between meters/feet and which elevation mode you want to load a static profile in.
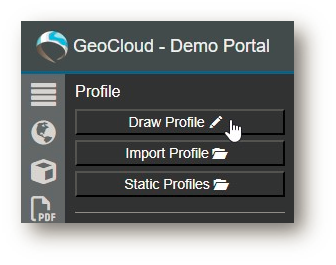
To draw a profile, simply click 'Draw Profile' and click at the map, where you need the profile to start. The profile can have as many bends as you need, click on the map where you want to add nodes. To end the profile double click where you want the end point to be placed.
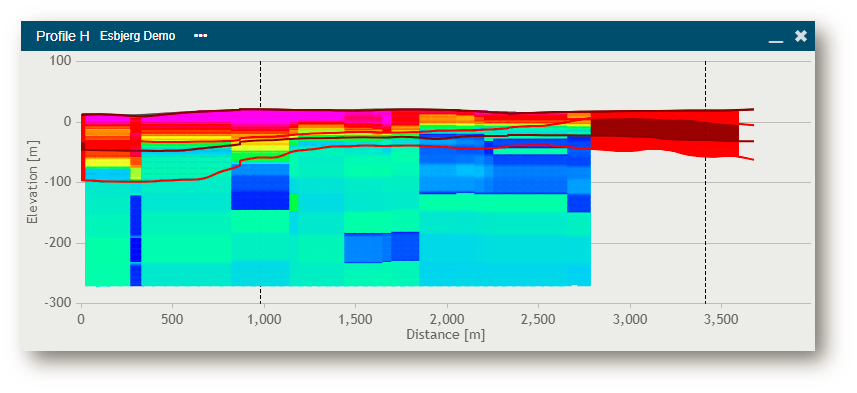
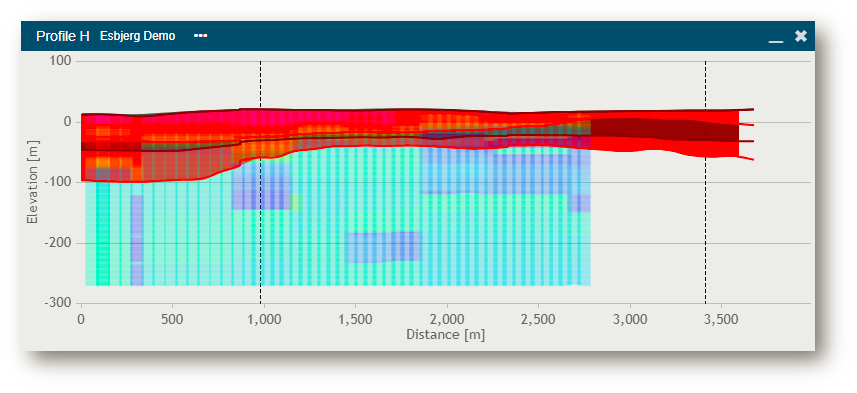
The drawn profile, can look something like this. Here the 'Elevation Mode' is set to 'Automatic'.
The two vertical dashed lines represents bends/corners of the drawn profile line.
Profile buffer
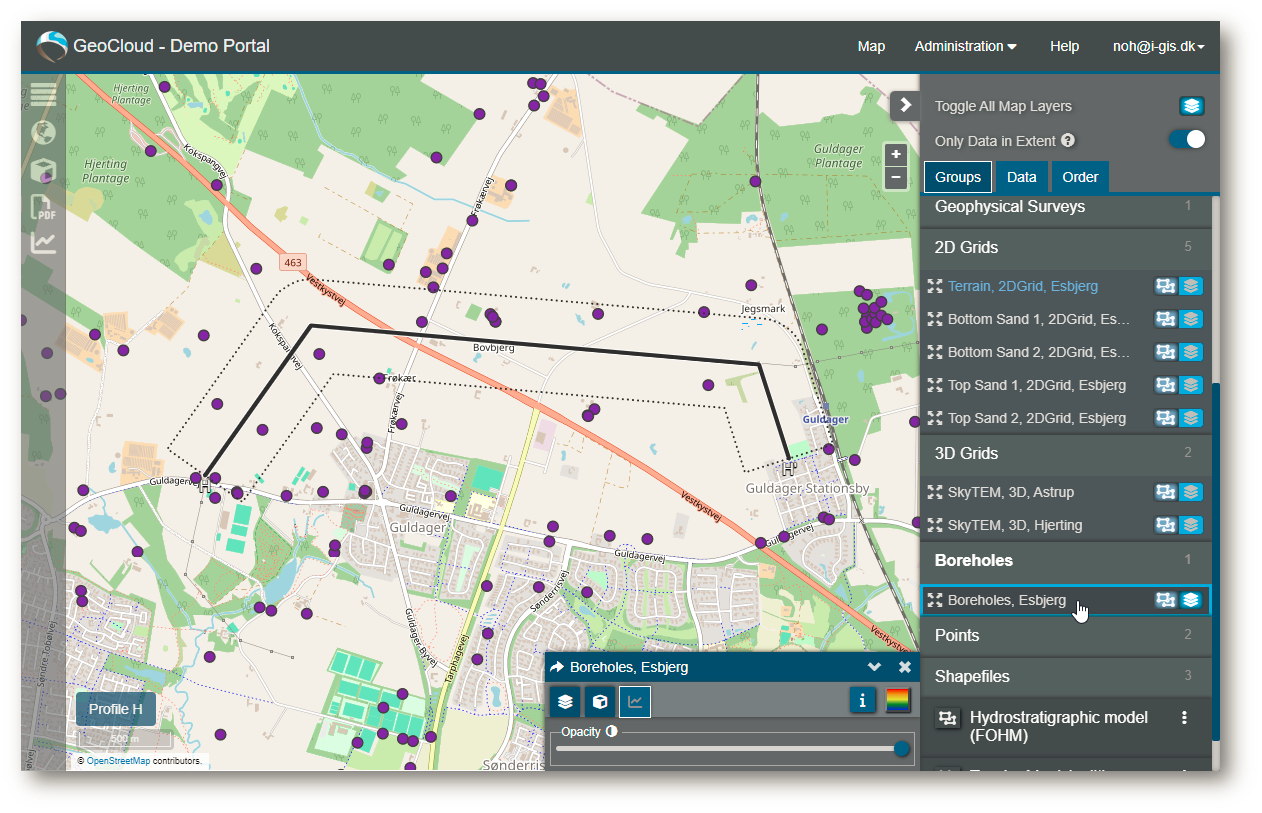
The black line on the map indicates where your profile is located.
The dashed line is your profile buffer, showing which data is included on the profile. In this example, Borehole data is selected and its buffer shown.
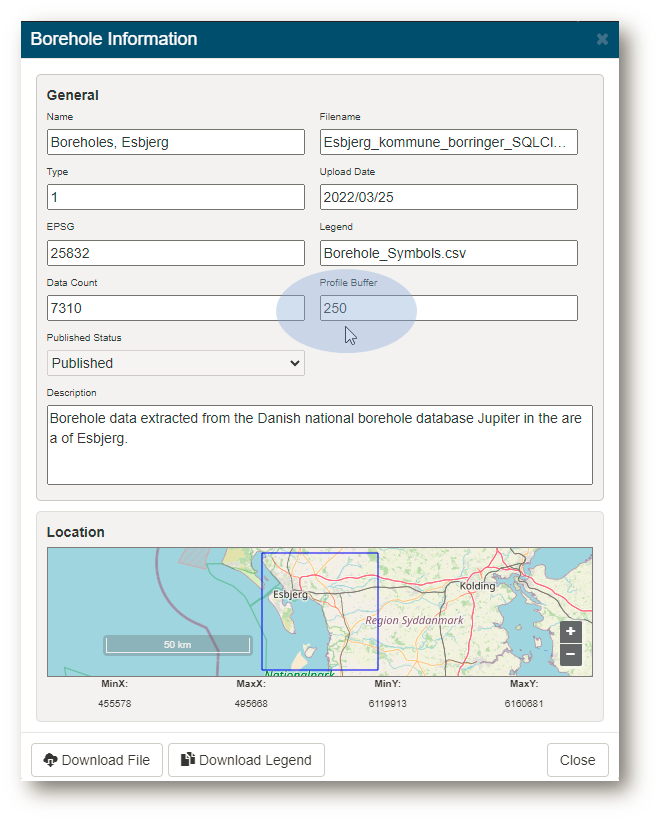
You can view the profile buffer size by clicking on the  button and the following dialog is shown. Different data would typically have different buffer sizes.
Profile buffer outline can be enabled or disabled in the Map Options and is disabled by default.
Zoom
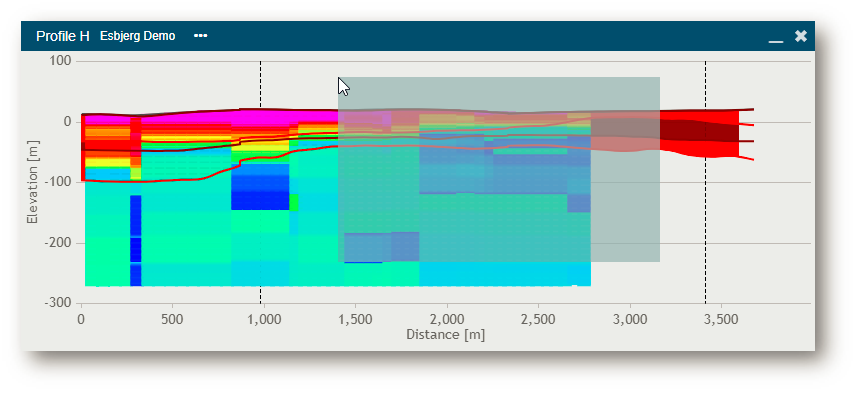
To zoom at a profile press down the left button on the mouse, and hold the button down meanwhile expanding the appearing grey box.
You will zoom to the extent of the grey box.
When you are happy with the selected area, simply let go of the left mouse button.
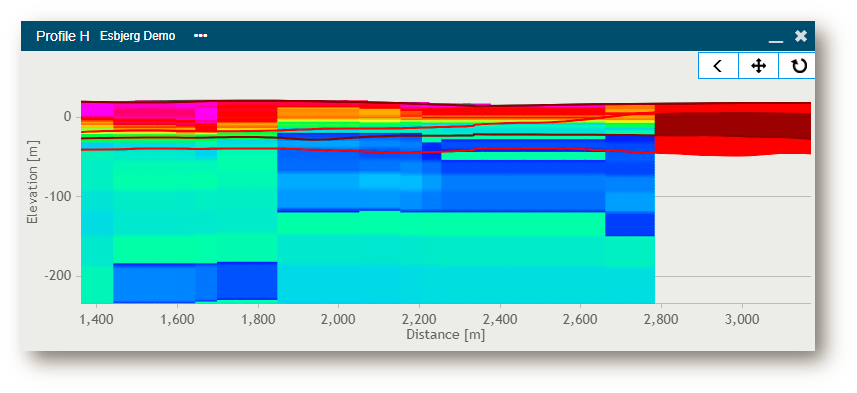
After you have zoomed, you will have three new buttons in the upper right corner of the profile window.
 -This button will reset the zoom level
Edit data on profile
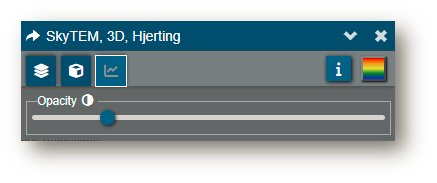
It is possible to edit the view of the data on the profile. Click on the data you like to edit in the Data Manager and a dialog window appears and here you can adjust the opacity
Export profile
All profiles created in this way are temporary and won't be saved within the project. If you wish to save these profiles, you have the option to export them as the profile line location and/or images. If you wish to have a permanent profiles within your project, you must first upload them in data administration, see static profiles.
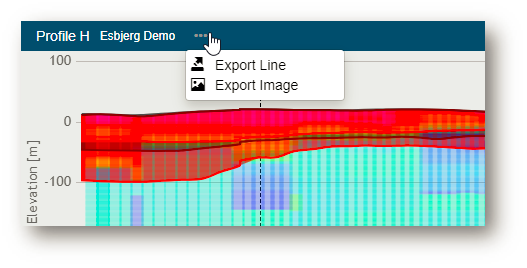
Export Line gives you the options to export the lines coordinate points to a .kml. The .kml file can be imported as a profile later or used in a different software.
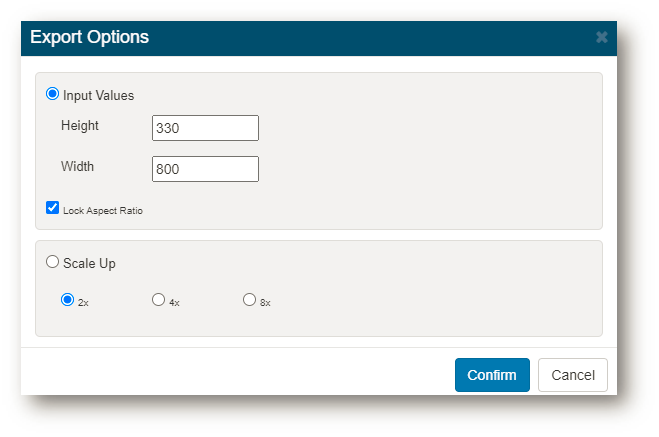
Export Image gives you the options to export the profile as an image. The image file will be a .png file. You have the following options for the exported image.
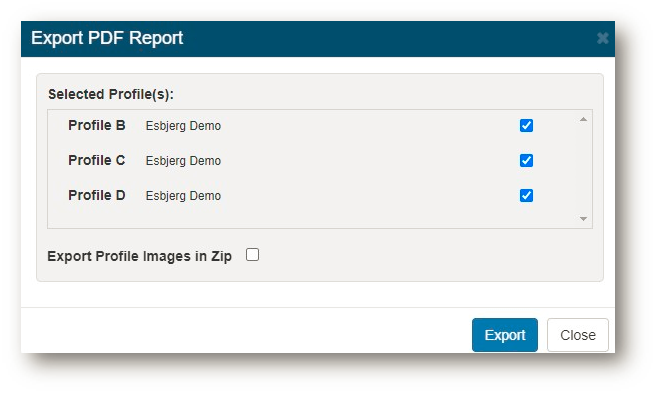
You can also generate a PDF report with profiles and the map showing the profile location with  button in the map tools menu. All active profiles created will be included in the report with the option of deselecting any undesired profiles. Closed or minimized profiles windows won't be included.
In the same PDF creation report dialog window, you have the option to export the profiles as zipped images alongside the report.
The set profile window, zoom levels and scale will be reflected within the PDF and the images.

