Table of Contents
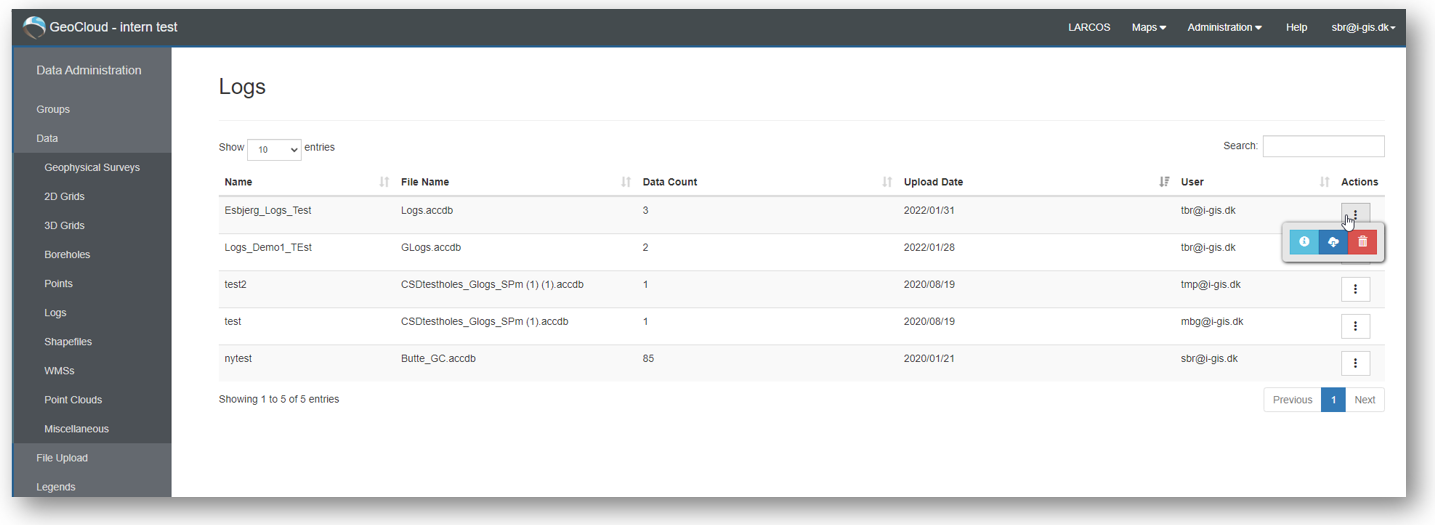
Logs
Logs can be shown at the profiles and the 3D Window. At the map the log will be shown as a point.
The user interface for these data has a filtering option and number of entries is available, and the users can download and/or delete data, depending on assigned access levels.
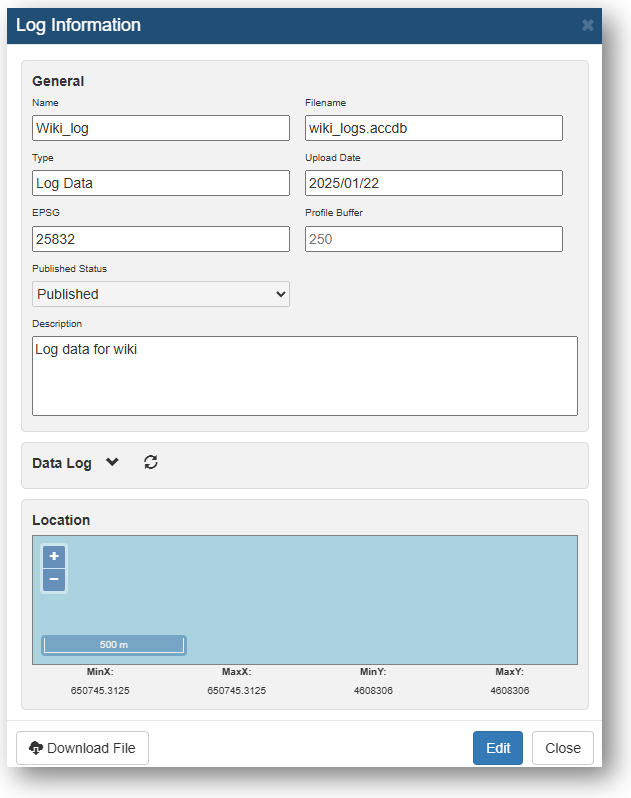
Log Information
When opening the Log Information, it will look something like below.
Here you can edit 'Name', 'Type', 'Profile Buffer', 'Published Status', and 'Description'.
Upload Logs
When uploading Logs, drag and drop the file to the 'Upload Window'.
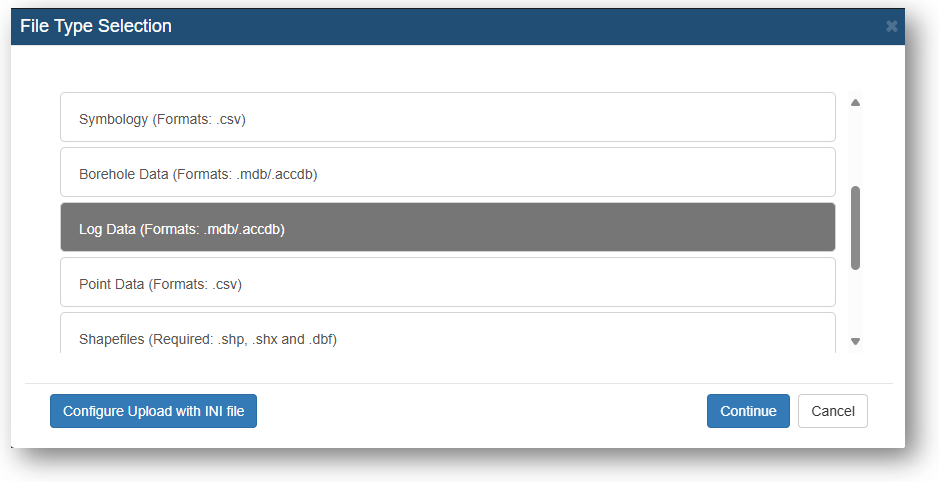
Select the right data type.
The Acces database will be uploaded - but still require additionel setup.
When the status bar for the file looks like below, give it a click and start the additional setup.
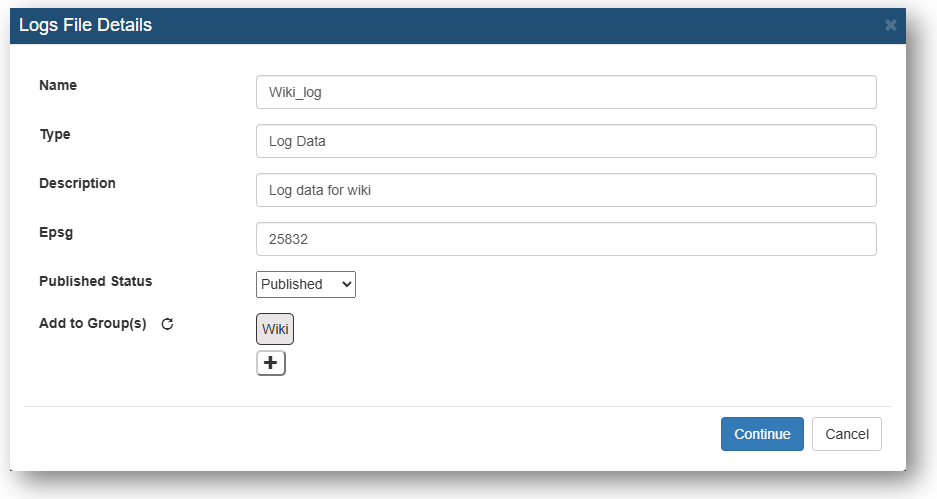
Give the file a 'Name', 'Type', 'Description' and EPSG. Select the files 'Published Status' and if it should be added to a group(optional).
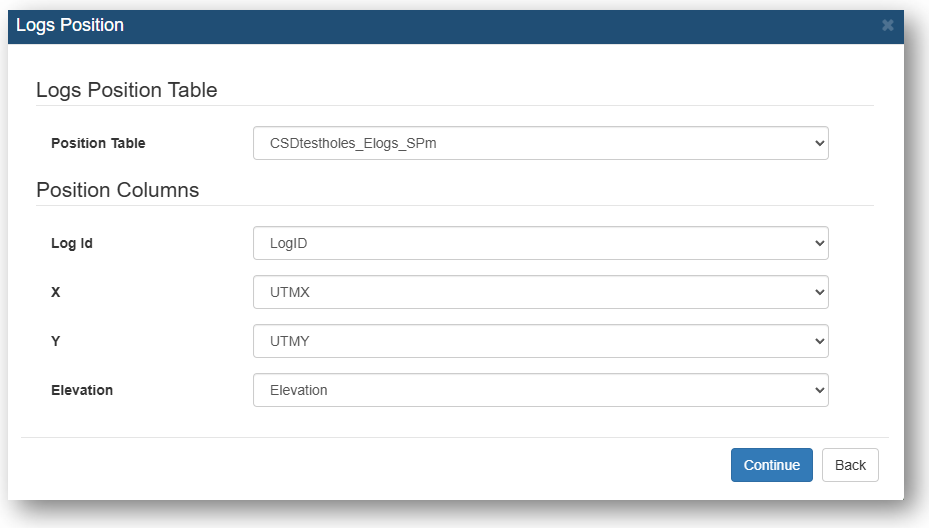
Select the Logs position table.
Select the values for the 'Log ID', 'X', 'Y' and the 'Elevation' (optional).
Select Log Type from either the Cloud or a file.

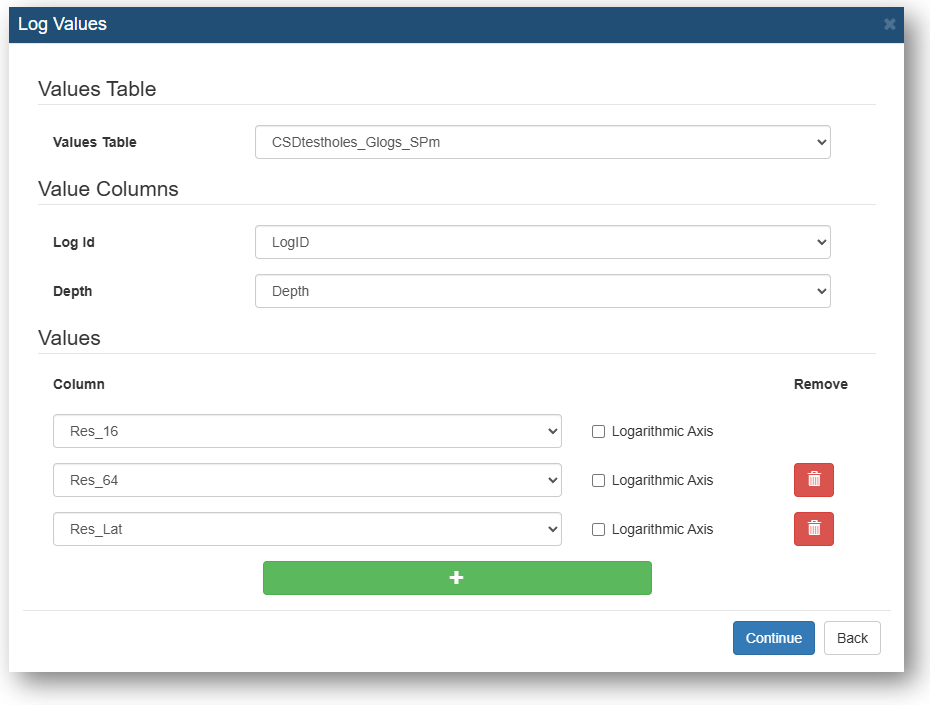
Select the values table.
Select the 'LogID', 'Depth' and etc. 'Curve number'.
Select the value columns. You can have as many columns as you like.
Select the measurement unit.
Click 'Finish'. When the status for your file turns green and reads 'Succes' your file is uploaded to the GeoCloud Portal.

